Delicious Cakes & Easy Dessert Recipes

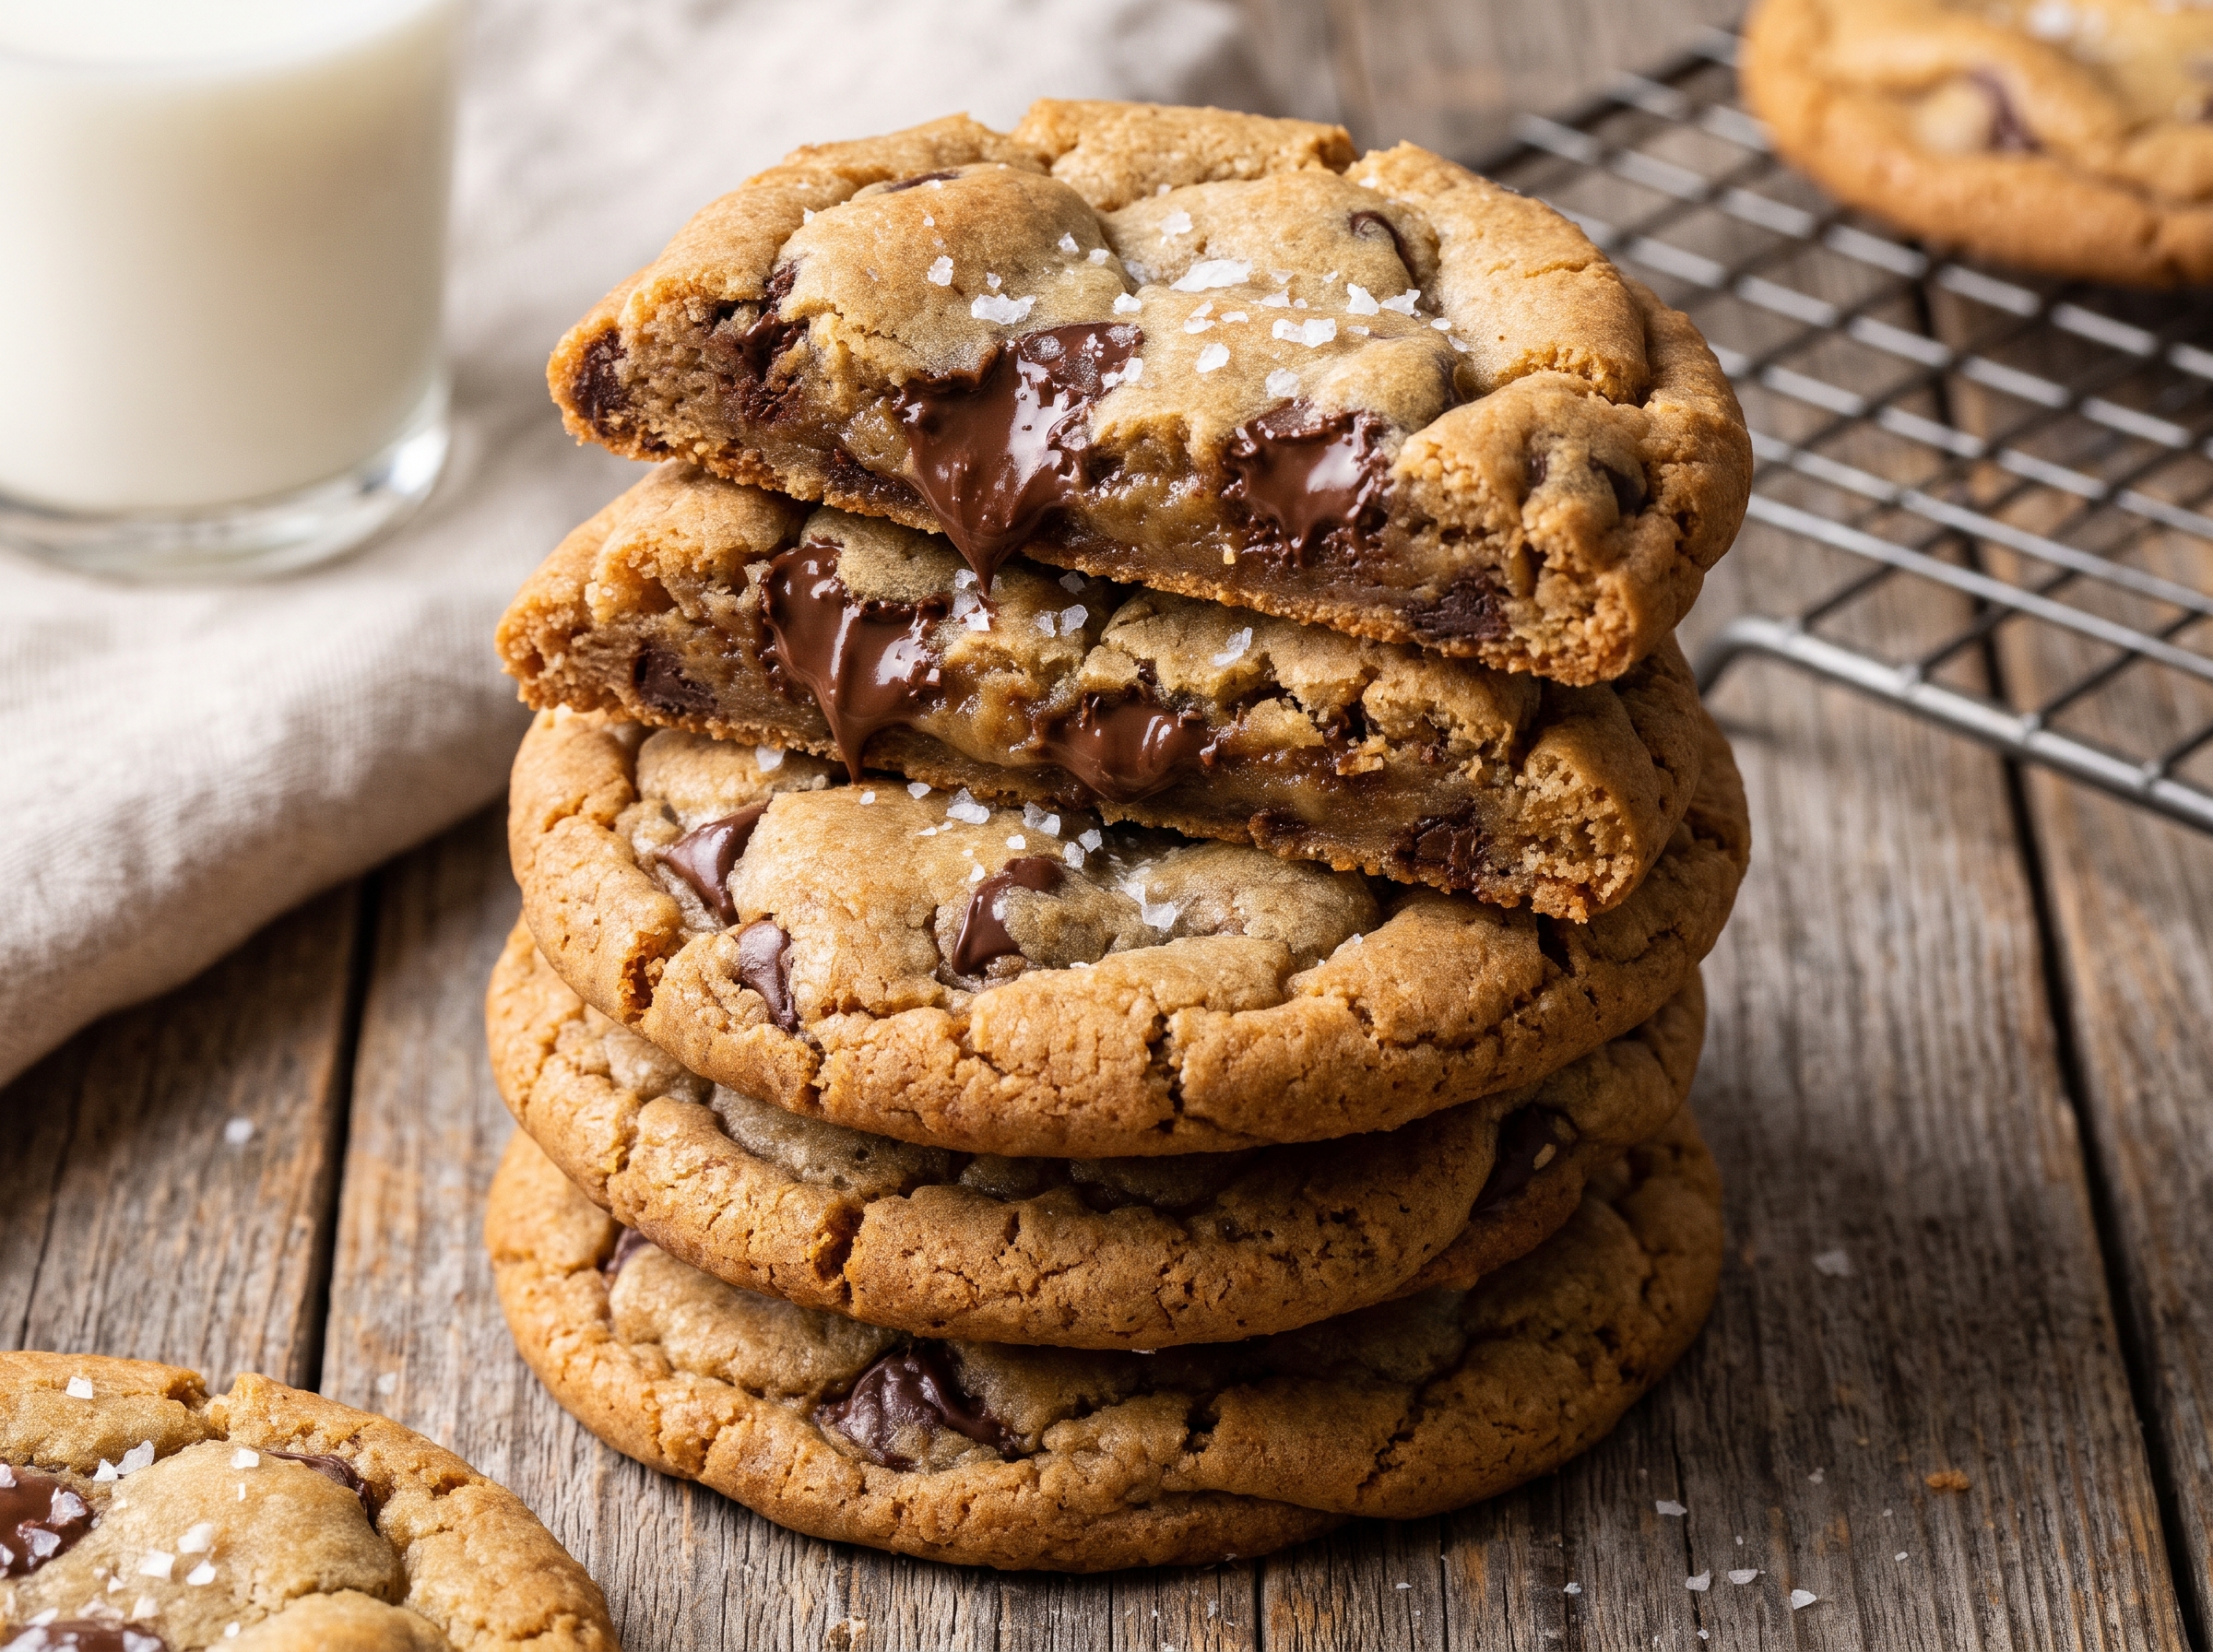
If you have ever baked homemade cookies only to pull flat, dry disks or puffy cake-like rounds out of the oven, this recipe will transform your baking forever. These chewy chocolate chip cookies deliver everything dessert lovers crave: crisp golden edges that give way to a soft, dense, bendable center packed with pools of velvety melted chocolate.
Unlike traditional recipes that demand hours of dough chilling in the refrigerator, this formula is ready to bake right away. By understanding simple baking chemistry, you can achieve world-class bakery results in less than 30 minutes from start to finish.
Preheat your oven to 325°F (165°C). Line two large baking sheets with parchment paper or silicone baking mats. Baking at a slightly lower temperature (325°F instead of 350°F) prevents the outer edges from crisping before the center softens, locking in that signature chew.
In a medium bowl, whisk together the all-purpose flour, cornstarch, baking soda, and fine sea salt until smooth and uniform. The addition of cornstarch softens the protein structure of all-purpose flour, ensuring every bite remains melt-in-your-mouth tender.
In a large mixing bowl, whisk the melted and slightly cooled butter with the dark brown sugar and granulated sugar. Whisk vigorously for about one minute until the sugars begin to dissolve into the butter and no oil separation remains.
Whisk in the whole egg, the extra egg yolk, and the pure vanilla extract. Continue whisking continuously for 60 to 90 seconds. You will notice the mixture transition from dark brown to a glossy, ribbon-like consistency. This step creates a glossy, crackly surface on your finished cookies.
Pour the dry flour mixture into the wet bowl. Using a rubber spatula, fold the ingredients together gently just until the last streaks of flour disappear. Avoid vigorous stirring, as overworking the dough develops excess gluten. Fold in the semi-sweet chocolate chips, setting a few tablespoons aside to press into the tops of the dough balls.
Using a medium cookie scoop (about 2 tablespoons per portion), scoop rounded mounds of dough onto the prepared baking sheets, placing them 2 inches apart. Press a few extra chocolate chips onto the top of each mound. Bake for 10 to 12 minutes. The cookies are finished when the edges are lightly golden and set, while the centers remain pale and soft.
The moment the cookies exit the oven, sprinkle the tops with flaky sea salt. For picture-perfect round shapes, place a round biscuit cutter or a wide mug over each hot cookie and gently swirl it in circular motions against the baking sheet for 5 seconds. Let the cookies rest on the hot pan for 10 minutes to finish setting before transferring them to a cooling rack.
The number one reason chocolate chip cookies turn out dry, pale, or cakey is excess flour. If you scoop flour directly from the bag with a measuring cup, you pack down the grains and end up adding 20% to 30% more flour than intended. Always fluff your flour with a fork, spoon it into your measuring cup, and level the top with the flat edge of a knife (or weigh out exactly 270 grams on a digital kitchen scale).
Yes, this dough freezes exceptionally well. Portion the raw dough into balls, place them on a tray in the freezer for one hour until solid, and then transfer them to a freezer-safe zip-top bag for up to three months. When a sweet craving hits, bake the frozen dough balls directly without thawing at 325°F for 12 to 14 minutes.